Thursday, September 19, 2013

Bikepacking - new bags, new camera.

Autumn is here and the sky is full of skeins of geese
So far all my attempts at bikepacking have been made with gear that on the whole I already had. I did buy a cheap bar bag that worked well but it won't fit the wider bars of my cyclocross bike. I also bought a seatpost rack, but that snapped on my last trip. Mainly I've just lashed dry bags to various parts of the bike. But with the bikepacking idea taking off in the UK as well as elsewhere, the British firm Alpkit (who I've written about in the past) are now offering custom frame-bags and are bringing out additional bikepacking luggage. I invested in the Stingray frame-bag for my CX bike and also bought one of their "beta" Fuel Pods.

Packed up and ready to go
 Last weekend I went for an over-night trip to try the bags out. The morning before the ride had also seen the UPS guy deliver my new camera - a rather fine little Canon - so I was keen to try that out too. The photos in this post and video at the bottom were all taken with it.

Quiet Finnish roads #1
Quiet Finnish roads #2
It's pouring with rain now but last weekend was far closer to the glorious summer Finland has had this year, rather than this newly arrived, business-as-usual autumn. The sun shone until it set and then through the forest canopy I could still see lots of stars. I rode about 85 kms to a little beyond the town of Karkkila, around 100 kms northwest of Helsinki on Friday afternoon. Just west of the town the land becomes more forested and less agricultural, and with lots of lakes. I wanted to camp on a lake edge; for aesthetic reasons and simply as a source of water, and despite there being lots of lakes around those parts, I was quite surprised by how many summer cottages there also are - so it took me a few attempts at following various quiet gravel roads to find some lakeside forest that kept me a respectful distance from people enjoying the last weekend of great weather in their summer places.


I had thought perhaps optimistically that the mosquito season was now over so took a tarp but no mossie net. At first in the evening there were more than enough mossies to be annoying but interestingly later at night they all seemed to dissappear allowing me to sleep with my head out of my sleeping bag comfortably. It was just below 14 degrees when I went to bed (my new cycle computer very handily has a thermometer on it) and just below 12 when I woke up, so I'm now theorising that there must be some magic point between 12 and 14 degrees Celsius where its gets too cold for mosquitoes!

The morning sun starting to burn away the mist
Overnight camp
A bit before midnight I could hear in the distance some interesting howling, that at least to me didn't sound like a dog. Noting this on Twitter as I lay in my sleeping bag, caused some amusement amongst other late evening Twitter perusers around the world, along with some useful research done for me on the most southerly sightings on wolves in Finland, some terribly bad lupine-themed jokes, and even a friendly suggestion from the deputy mayor of Helsinki to make sure my tent zip was done up tight. This of course made the howls feel closer as I lay there under my door-less and indeed side-less tarp!
The only nighttime visitor
Dew droplets on a spider's web
Morning arrived sunny and wolf-free with the forest glistening in its thick coating of dew. I had some breakfast and coffee and made a reasonably quick start as I had promised to be home by lunchtime in order to be ready for the family's annual trip to Linnanmäki, Helsinki's long established amusement park. Overall I was gone for less than 24 hours and rode about 170 kms, probably split evenly between surfaced and unsurfaced roads - the kind of riding that my CX bike is perfect for.

Greeting the morning sun with coffee
Packed and ready to leave where I camped
 There's been some good stuff written, originating in the UK, about "microadventures", whilst from the US there's the idea of "S24O" - or sub-24-overnight bike trips. It's taken off in Helsinki too which is really great. The ideas are simply about encouraging people to get out, see some countryside and sleep under the stars. I think it's a great concept; not everyone has the time, money or family situation that allows them to go off for months to some far-off wilderness, but most of us can nip off for 24 hours, and some exercise plus a night out in the woods listening to the bird calls (and maybe even a wolf howl in the distance) has to be good for your health - physical and mental.
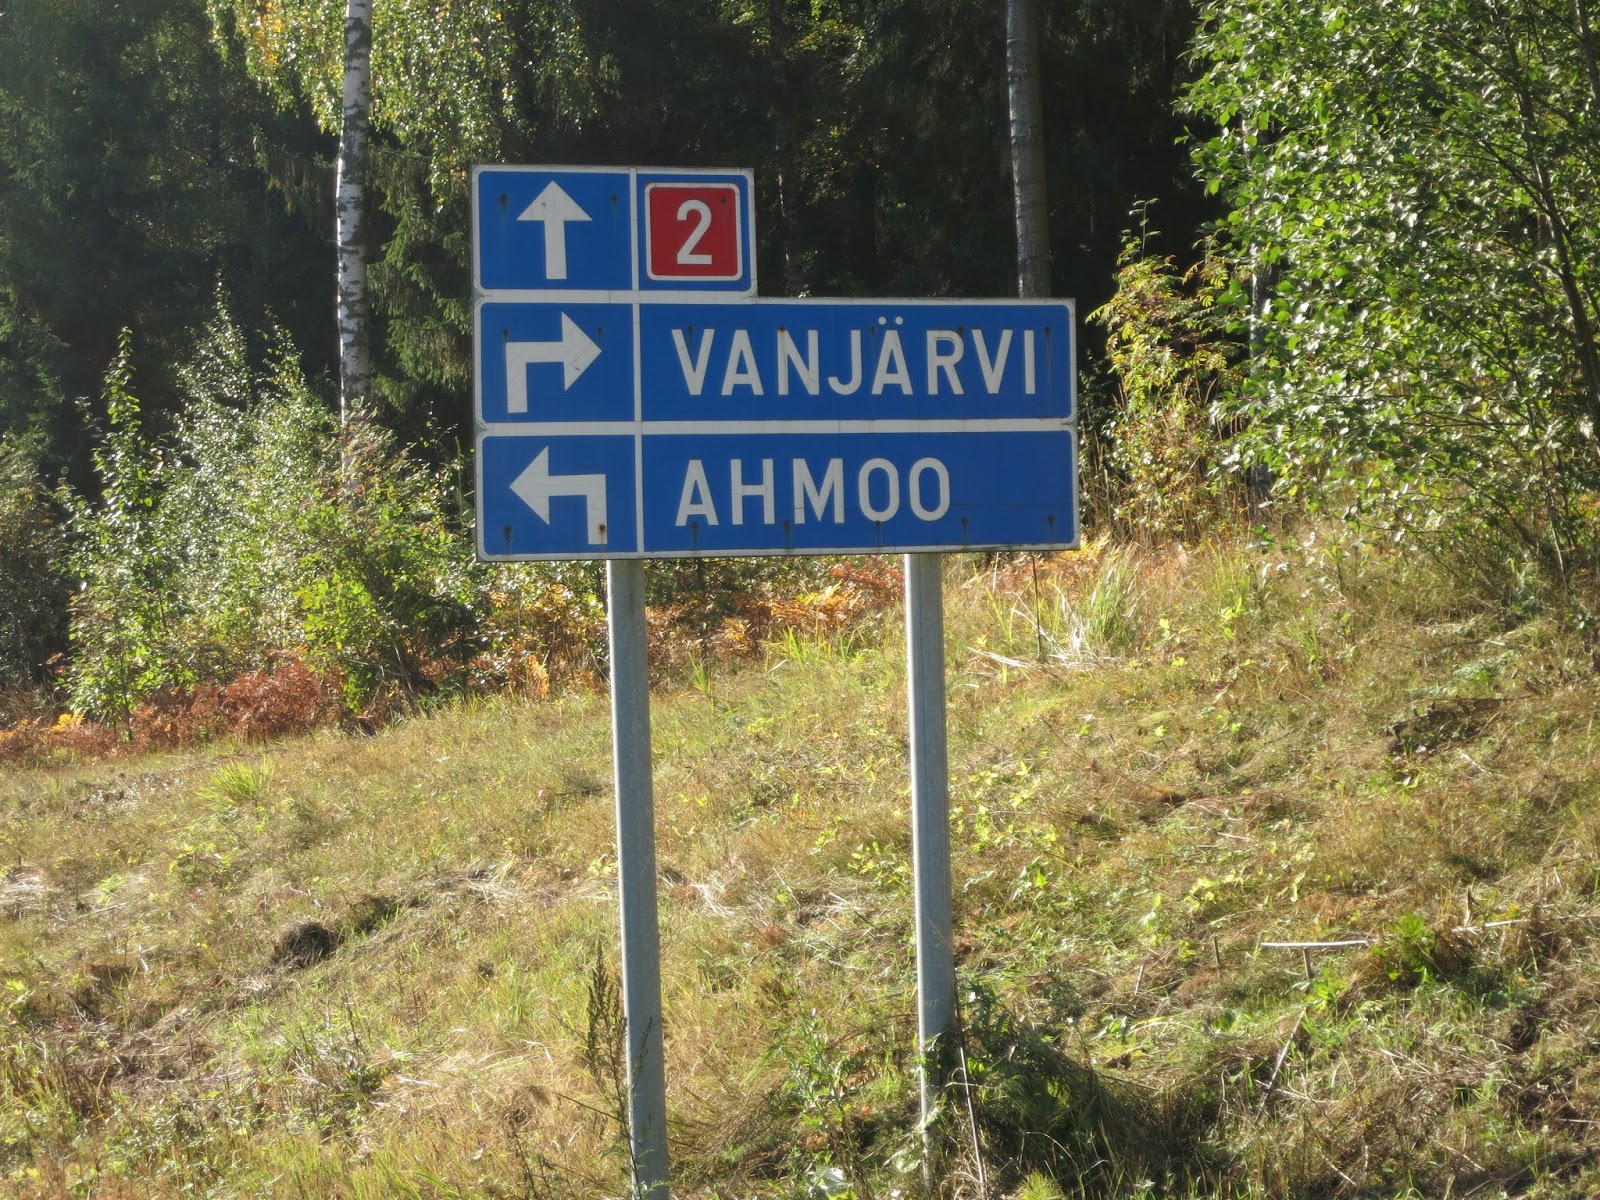
It's probably not funny at all to Finns, but I would love to live in a place called "Ahmoo"
Somewhere in the Finnish countryside
 The Alpkit bags seem great so far. The frame bag takes quite a lot of gear but doesn't bulge enough to rub. I picked the thinnest option, 4cm bulging to 6cm width, as it was for a CX bike. On a MTB you might be able to get away with a slightly wider bag. The 'fuel pod' also worked well, although due to the hydroformed frame shape at the front of the cross-bar on my bike, I could do with the velcro tabs being a little longer, whilst the tab that goes around the stem could be thinner. They only had them in size large when I bought it, so went for that size by default. Nevertheless it's not that big, so I think the smaller option must be tiny with room just for some energy gels or similar. I wasn't sure when I ordered it, but I'm glad I got the bigger size.

The Alpkit "Fuel Pod", size large
Drops bars on a CX bike making attaching luggage to the handle bars trickier. A small-ish dry bag packed no bigger than to fit between the drops works OK, and for this trip I had some much better straps to hold it on. These are from the Aussie firm, Sea-to-Summit, which make some of the most intelligent little bits-and-bobs for camping and outdoor pursuits, as well as some amazing if very pricey serious gear like this very high quality sleeping bag that I reviewed for UKclimbing a couple of winters ago. They were sillily expensive for a couple of nylon straps - about €10 - but the alloy locking buckles on them work very well and didn't loosen despite hours of vibration, particularly riding on gravel road - so as long as I don't lose them they should pay off in the long term!

Tuesday, September 03, 2013

Climbing Stetind’s Sydpilaren (South Pillar): a punter’s guide

The classic view of Stetind from the campground/car park to the Northwest, punters start from here.
punter |ˈpəntər |

noun
1 Football & Rugby a player who punts.
2 a person who propels or travels in a punt.
3 informal, chiefly Brit. a person who gambles, places a bet, or makes a risky investment.
• a customer or client, esp. a member of an audience.
• a prostitute's client.
• the victim of a swindler or confidence trickster.
4 sub-cultural, chiefly Brit. climbing: an active, often experienced climber with a genuine enthusiasm for the sport but who isn’t actually very good at it.

©New American Dictionary + a little help from me.


The less commonly seen North Face of Stetind. 1392 straight from the sea. No place for punters.

Climbing the South Pillar of Stetind was one of the best days of my climbing life. Although the crux pitches are not much easier than the hardest routes I’ve ever managed, the whole day went pretty smoothly. So I thought I’d write a ‘bluffers guide to climbing Stetind’, aimed very much at enthusiast punters, such as myself, with some tips and info to try and persuade those who want to give it a go but aren’t sure how they would fare, to go for it. Super-alpine Übermensch and sponsored heroes will obviously piss up it, and need not read any further (indeed that lot should stop arsing about and get themselves on terrifyingly massive North Face of Stetind!).

The South Pillar - between shade and light - emerges between the clouds. The start is at the left end of the obvious grassy ledge system, the finish is the summit 13 pitches later.
So first, how good do you need to be to climb Sydpilaren? I’ve been climbing for over 20 years now, never at a very high standard but I am pretty experienced. My top onsight grade is E1 (trad 6a/6a+-ish in Euros). I did onsight Red Square at Nesscliffe but I think everyone knows that’s not really E2. My best sport onsight is 6b, but that was some weird smeary slab climb, on steep stuff again 6a or 6a+ are the non-giddy heights I normally reach. I tell you this just so that you know that if you can get up similar graded routes or harder ones, you are perfectly capable of the hardest climbing on Stetind’s Sydpilaren. I do crack-climb a lot and I do climb mainly on granite - both of these are obviously of assistance considering that Sydpilaren is essentially a granite crack climb.

Looking down to Dave seconding pitch 10, the first headwall pitch and perhaps the crux of the route.
Stetind by any route is a climb and even coming down the normal route after the South Pillar needs some mountaineering skills. Overall it is a big day out for even competent teams and I think is closer in feel to an alpine route than to its famous, not-too-far-away neighbour, Vestpillaren on Presten, Lofoten. Vestpillaren has more of a super-cragging feel to it starting so close to the road. With Sydpilaren you are gonna need to get hiking first. With that mountaineering feel, the most obvious thing you need is a totally solid partner. I would recommend my climbing partner, Dave, but frankly it’s difficult enough finding days when he’s free to go climbing already, so you can’t have him. Find your own Dave.

Low on the approach, still in the trees.
The approach turned out to be trickier than we expected, particularly as we had cloud rolling around. After a few hours hiking up from the road, you get to a distinct steepening with a waterfall coming out of the glacial lake to your right. At the top of this steeping you get the view over to the Sydpilaren. There is a huge boulderfield ahead of you. Both the guidebook and Rockfax miniguide mention a huge flat boulder here, which is very easy to see, they then say follow cairns to an obvious gully that forms the start of the normal route. The problem is there are lots of cairns and no obvious gully. We went more rightwards and followed an obvious path continuing up; this turned out to be the wrong way - we were following the trail to the normal route and went much too high. We probably wasted an hour here hiking up, before finally coming back down and finding the start point for the traverse to Sydpilaren. The description only made sense as we came down at about midnight! I drew a sketch diagram for some friends who did the route a few days after us, they said it helped them so I have tried to reproduce it below.

Looking back across the boulderfield, where we went to right and got lost.

Excuse my pitiful artistic skills but it will probably make sense if you're there.
After the scary traverse scramble, crossing the moraine bowl, aiming for the curving ledge system that takes you to the start of the pillar on the skyline.
 We stowed some of gear at the point marked by the plastic pole and geared up. Then you traverse hard left following small cairns. The approach to the big moraine bowl is exposed and scary scrambling, it’s not hard but for about 50 mtrs a slip would be probably fatal. We very nearly used the rope.

Typical climbing on the lower pillar, slabby cracks and corners. Dave on pitch 4 I think.
The climb itself is made up of basically two sections - the first 9 pitches are on the slabby lower pillar and aren’t too hard. The hardest sections are given Norwegian 5- in the guidebook, about UK 4c, but those are just a few odd moves - most of the climbing is more in the V Diff-Sev range. Rockfall on pitch 8 has changed the route slightly; Dave took a belay on the big ledge below and left of the scar. Above we found a nice, safe, alternative bit of climbing that was slightly harder - probably Nor. 5 or UK 5a; see the picture below. This made our P8 shorter and P9 longer, but worked well.

Me on the left-leaning thin crack. A little higher the crack meets the arete where a big step left takes you into an easier groove. Follow this to the Second Amfi. Photo: D. Smith.
At the end of pitch 9 you hit a big ledge, the “Second Amfi”. The ledge is traversable, supposedly without difficulty, and it takes you out to the normal route from where you could either follow that to the summit or start the descent. I think knowing that is an option is really important as if you get freaked out by the headwall above, you know chickening out that way is a possibility. But don’t do that, man up, and do the headwall! It’s a pretty imposing bit of rock - noticeably steeper than the lower pitches - but the three pitches that get you up it are really great. The first one (P10 overall), given UK 5b in the Rockfax miniguide, is perhaps the most sustained, but I’ve seen some say it’s really only 5a. Whichever, the climbing is good and protection excellent so even if that’s the top of your grade, you should still go for it and just keep plugging those cams and nuts in. The next (P11) is only short - 20 mtrs or so - but I felt sustained and very airy. The climbing is great though, and again there are loads of solid runners to be had so it's not really scary. That lands you on a big comfy ledge from where you see up the slightly slabbier corner that makes up the crux of pitch 12. There is one distinct crux move on this pitch and the gear before it a bit more spaced. Nevertheless you can arrange a number of runners before doing the crux and the the move is all about balance anyway, fine for stout legged types as myself. Pitch 13 isn’t really a pitch, a few easy moves got us from the ledge where I had belayed at the top of P12 into a huge easy gully. We stopped belaying at this point and just walked roped together to the summit. It’s really easy.

Made it! Summit celebrations. Photo: D. Smith.
The Summit is huge - football field-sized, wander around and make yourself feel a little sick as you look down the west and north faces! Don’t forget to sign the very cool summit register in a bolted on box.
Dave signs the summit register.

Looking over to the descent ridge from near the top of the South Pillar. The descent follows the ridge down from the top left; the notch on the ridge is where you need to abseil. Then more scrambling takes you to the big cairn on the top of Halls Fortopp.
The descent is well described in the guidebook. On the summit we changed back into our approach shoes and roped up alpine style with one of our ropes, maybe 25 mtrs apart. Then we made sure there was at least two runners between us as we moved. This was easy and quick to arrange mainly using our double set of cams. The summit plateau narrows and begins to drop, you really couldn’t get lost even in cloud. There are a few step downs that require care but it’s not difficult. Soon it narrows down to a pavement-width ridge, sickeningly exposed but not difficult, and after a few metres of space walking along that you hit the bolted abseil point on the top of the “Mysosten Block”. You abseil 15 metres down the south side to a big ledge. From here we continued alpine style again, with much exposed but straightforward scrambling to the huge cairn on the top of Halls Fortopp, the obvious peak SE of the main summit. Here you can stop stressing-out, un-rope and collapse on the floor with relief; only (lots of) hiking now remains between you and your choice of celebratory beverage back at the car park/camp area.

Dave about to balance across to the abseil point on the Mysosten Block.
All in it took us 16.5 hours car park to car park. If we had found the approach better we would have been quicker but not by much, and during the day we were moving for most of the time except whilst belaying. Of course some people will climb much faster than us, but I don’t think we were particularly slow either. Unless you are happy to simul-climb big sections I wouldn’t think many parties would be hugely faster than we were and we met people who had been quite a lot slower! As I said, it’s a big day.

Our rack being sorted out the next morning.
Gear is always very personal to what you have, like and how many runners you like to put in. There are lots of pitches on the route that are 50 mtrs long and there is no fixed gear, so reckon on needing three pieces for the lower belay, however many runner you place on a 50 mtr pitch and then three more pieces to make the next belay, i.e. quite a lot. We took:
  • 10 Wallnuts, (size 1 to 10); our basic wires.
  • 10 Metolius ultralight nuts; a second set of wires - lighter than standards ones and they rack very neatly.
  • 6 Wild Country Superlight Rocks; these are amazing because they make even the Metolius nuts seem heavy, although with just one wire it's best not to look at them for too long after placing them.
  • 12 quickdraws; three of these were slingdraws with tripled 60 cm slings - very useful. 8 were Edelrid 19G quickdraws which I was lucky enough to have been sent for review. They are very small but, man, are they light - weighing the same as about four or five of my normal quickdraws. They really were perfect on this route.
  • 2 DMM Torque Nuts; mainly because being a punter I feel a bit naked without at least a couple of hexes.
  • 2 Wild Country Rocks on Spectra; mainly because these are Dave’s lucky charms and he gets nervous without them regardless of how old they actually are and how worn the cord is!
  • 5 DMM Dragon Cams, purple to blue (#1 to #5).
  • 5 BD Camalots, purple to blue. BD and DMM sizing now matches so, in short, we had two of each mid-range cams.
  • 4 Wild Country and DMM small cams - I think between #0 and #1.5 in Friend/4CU sizing.
  • About 4 slings, 2 120s and 2 60s, and about the same number of locking krabs.

We probably could have had just two sets of nuts, and maybe only one of the bigger sized cams, but we used everything at some point and I would have been nervous having a significantly smaller rack. We’re lucky that between us we have a lot of lightweight gear - most of cams were racked on DMM phantoms for example - and by using the lightest option we had for everything, even though we took a lot of gear its still wasn’t horribly heavy.

For ropes we took two 60 mtr half ropes. Theoretically a skinny 60 single would work fine too and be light, but if for some reason you had to retreat back down the pillar it would be a ‘mare. I also like being tied to two ropes on stuff that is hard for me, but that’s being British I guess. Finally, in a very un-British move I wore my crack-gloves and Dave taped up. Whilst this isn’t really necessary, particularly for easier climbing, on long climbs I think I climb a lot quicker when taped-up. It also just helps your hands survive the week if you are climbing lots of granite every day.


Tactics: Dave had the relevant pages of the Rockfax miniguide in his pocket, but they “escaped” during the approach meaning we never got to try its descriptions for accuracy. I had scanned and printed the relevant pages of the (rather big and heavy) guidebook and packed them in plastic bags, and that was what we used to get up the route. Stupidly when scanning it I hadn’t pushed the book down hard enough on the plate and it meant I couldn’t read the comments close to spine that accompanied the pitch by pitch topo diagram. Between that and losing the other topo we inadvertently added a sense of mystery and adventure to our climb!

Me reading the descent description in the midnight gloom. Photo D. Smith.
We both used approach shoes which turned out to be the perfect choice. I had some very light fell running shoes with me in Norway too but I wasn’t sure how their very aggressive sole pattern would work on the easy climbing during the descent. Both of our approach shoes have soles designed for easy climbing and they worked perfectly on the descent, you don’t need boots. It wasn’t too cold or windy on the day we climbed but we figured if it rained we could get cold fast. Hence we decided not to take a bothy bag up the route, but rather to take both shell jacket and pants each. I walked up in one base layer and changed for a dry one at the gearing up spot. That with, at times, my superlight windshell over it was all I needed on during the climb. On the summit I put on my microfleece between those two layers as it was windier and cooler. Dave wore his shell for some of the climb to add a bit of warmth, but neither of us needed the hats and gloves we had also packed. We were both fine in just basic softshell trousers, but it’s nice to know you have the over-trousers had the wind really picked up or the rain began.

We both took the food we thought we’d want/need and 2 ltrs each of energy drink. We drank most of one 2 ltr bag on the approach and then took the second with us on the route. I tend to drink a lot, but as it wasn’t too hot this was enough until we got to streams on the lower descent. We left one rucksack and our walking poles at the gearing up point and took the other with us on the route, meaning the leader could lead without a pack. I think this system worked well; the second carried the pack, a lightweight 30 ltr model. It held two pairs of shoes, two sets of waterproofs, the drink, some snacks and some ab tat for emergencies. It wasn’t bad to climb with at all but leading pack-less was also great.

We were doing the descent in the late evening having summited at about 2130. We were too late in the year to see midnight sun, but even in at times cloudy weather we didn’t need or want headtorches. Even walking back down through the forest at about 1 am, it was still light enough to see the path.

Finally I’d say make sure you have some good beers and some good single malt stashed in your car as when you get back down, probably at some ungodly hour of the morning, you’ll want to celebrate.

Sunday, September 01, 2013

Rock climbing in Arctic Norway; Narvik, Stetind and beyond.

Somewhere in Swedish Lapland
Just three months on and we’re driving north again. May’s snowy trip was sort of Dave’s half century ‘birthday party’; now it’s August and we’re hoping for dry, warm-ish rock to help celebrate my imminent 40th. We’re heading a bit further west this time, towards the Narvik area and Norway’s national mountain, Stetind. It was, almost to the week, ten years since Dave and I had last been this way - that trip I spent my 30th birthday splendidly drinking the night away by a campfire on a Lofoten beach and we had had seven days of great weather for climbing. The forecast looked good this time, but weather in Arctic Norway is always a bit of a gamble.
 
Eidetind and other Efjord peaks
It’s 17 hrs of grinding driving from the south of Finland to the North of Norway. On this journey the monotony was broken up by driving into Sweden a little after halfway - a route I’ve done fewer times than the road out the top of Finland at Kilpisjärvi. Swedish lapland is beautiful - you reach bigger hills sooner than in Finland and the Kalix river valley seems more interesting than the Tornio valley. Nevertheless, 17 hours is 17 hours and I think we were both happy when we crested the hill to see the sun setting behind the stunning Efjord peaks of the Kuglhornet and Eidetind. 

Stetind lurks above the camp area
At the foot of these two hulks, turn left and down a few more kms to where a tunnel spits you out, quaking, below the truly stupendous north face of Stetind. There are no alpine meadows stretching gently up to base of Stetind’s precipices. It is just 1400 metres of granite, surely hewn by some Norse deity with a battleaxe and following an angry child’s scribbled drawing of what a mountain REALLY should look like as his blueprint, plonked down on the fjordside. Some routes start literally from the beach. We pitched our tents late in the evening. Other climbers were milling around but more trickled back down as it reached midnight and the wee small hours. Stetind is clearly a mountain for big days.

Walking up the Verdenssvaet ("World Slab") approaching the Kuglhornet, Eidetind behind.
The next morning, Sunday, dawned bright but with some cloud still wrapping Stetind’s highest flanks. A decade ago we didn’t have internet access on phones to check the weather, but we do now and the forecast stayed good for the rest of the week. This clinched it and we decided on a warm-up route first, rather than throwing ourselves at the biggest objective of the week on the first morning - as we had done with Jiehkkevárri back in May. The Kuglhornet looked stunning when I had first seen it a decade ago but we had no idea how hard the routes were or how easy it was to descend. The guidebook gives all that info; perhaps killing some of the adventure, but also in another way opening up adventures to us. 

The South Face of the Kuglhornet. The East Ridge, about 8 full pitches, is the right skyline. The summit is the highest point in the picture.
Dave high on the East Ridge
We did the East Ridge - given 5- in the book although I thought rather easy for that grade. It is huge fun, and the views off the ridge, particularly over the north face are stunning, but it’s never particularly exposed for such a narrow ridge I don’t think the climbing was any harder that UK Severe. Looking off the summit overhang will make the hardiest stomachs lurch a bit. We got a tiny bit of drizzle on the top and were glad we weren’t on Stetind as that seemed to be catching all the showers going. 

Upper section of the Kuglhornet East Ridge
The descent is a walk, a bit steep and ‘jungle-ly’ at one point, but fine. There is supposedly a three rap alternative to the steepest bit that the guides use but we didn’t see the anchors. In the evening we accepted the inevitable, tomorrow would be Stetind day, so we better sort the rack and food out there and then and make an early start. One slightly shell-shocked looking Ukrainian climber at the campground had told us of their 24 hr epic, showing us his scarred fingers as evidence. Fortunately a Norwegian guide told us his friend had seen the Ukrainians the day before, moving carefully but VERY slowly up the mountain. Hopefully being experienced trad climbers and familiar with granite would help us move a little faster!
Showers over Hamarøy from the summit of the Kuglhornet


The South Pillar of Stetind
Monday morning dawned slightly cloudy, but still, and we were away from the tents at about 8.30 am. The walk up to the glacial lake is a scenic slog and we watched the cloud roll around the tight valley wondering what the day would bring. Lots of people had walked passed us before we left in the morning and we worried about queues; but when we got to the area where we were meant to traverse across to the South Pillar (6-) - arguably ‘the’ classic route on Stetind - the mountain was quiet. Could they all be doing the Normal Route leaving the entire South Pillar to us? This was the case as it turned out further amplifying the sense of size and loneliness on the route itself. Finding the traverse line to get across to South Pillar start, particularly with cloud rolling around, turned out to be hard. We went much too high at first and probably lost an hour before finding the right place. Here we racked and left one of the packs, spare gear and hiking poles. A big moraine bowl below the mighty south face (but above some terrifyingly huge, slick and wet slabs) lets you reach the start of the South Pillar, but to get on to this moraine is tricky. We eventually found the small path where you need to negotiate some not difficult but very exposed scrambling where we nearly roped up. After that it is just rough hiking for a few hundred metres to the base of the route.
At the top of the 9 easier lower pitches.
Dave somewhere on the lower pillar
The first section of the pillar is slabby, and mainly comprises of very pleasant long pitches of slabby crack climbing - the hardest little bits being no more than UK 4c. Pitch 6 is very long and has a complete bastard of chimney for anyone wearing a pack. Dave led that one, I seconded. Wearing the pack. Ho hum. Pitch 8 has suffered a big rockfall - you can see the scar from the roadside. The Norwegian guide told us you can still climb the original line but it’s loose, most traverse a bit left. There’s a good ledge there where Dave belayed, I climbed a fine, thin leftward leaning crack above. At the top of which you can lurch round the the corner into an easy groove and follow that to the huge ledge of the “Second Amfi” - the escape route to the normal route if you don’t want to climb the headwall.


1st headwall pitch, the crux of the route. Photo: D. Smith
I wanted to climb the headwall. This was just as well because Dave had hurt his back badly earlier in the summer and had felt it twinge again lower on the route. He took an industrial-strength dose of ibuprofen and announced he was still willing to give it go if I was happy to lead it. Ten years ago we had met some Finnish mates in the car park who had just done the route; Teppo told me, “the headwall is Finnish 5+, you’d cruise it, no problem”. After not trying Stetind that time, his words had stuck with me for a decade. Now was the time to find out if I was about to get the biggest sandbagging of my life or not. So I’ll just tell you this: the headwall is Finnish 5+, you’ll cruise it, no problem. Go get her tiger.


Three wonderful, well protected, pitches later and it’s just an easy couloir to walk up and you’re on the summit. And what a summit: the cloud were still rolling around so we only got views in some directions, but it’s as close to flying as I’ve been and I think, perhaps, want to be.
Last of the technical climbing, the summit awaits.
Descending from the summit via the normal route


Two tired and relieved middle aged men drinking beer
We stayed roped up, moving together and placing some runners between us, for the descent down the normal route. It is sickeningly exposed at points, but never hard. One abseil from bolts gets you down that route’s crux pitch, then more scrambling to the top of ‘Hall’s False Top’, where you can unrope and start hiking down. Finding our cached gear was straightforward, and below that we also found the described approach gully that we had somehow missed in the morning. We got back down to the tents in the twilight that is 1 am in far north’s August. We didn’t take headtorches and fortunately you can get away without them. A celebratory beer was drunk to finish off the probably the longest climbing day of either of our careers. It had also been one of the best.


I don’t think either of us felt like moving much come Tuesday morning, I washed in the stream, washed out some horribly sweaty clothes from the day before and made many cups of coffee. This adequately filled the morning. Oddly my thighs were killing from the hiking the day before. I hadn’t actually found it difficult at all, I guess I’m pretty fit from cycling, but clearly hiking uses slightly different muscles from pedaling a bike. In the afternoon we packed up, left the Stetind camp and took the ferry over to Hamarøy. 

The rural idyll of Sleppen cliff, Hamarøy.
In the afternoon we visited the local well-bolted sports cliff called Sleppen and did some routes. It’s a very chilled atmosphere but we found many of the routes total sandbags; completely the opposite to what the book suggests. We did one supposed 5-, which in about 15 metres had a number of moves WAY harder than the hardest moves on South Pillar!
Dave on the world's hardest 5-!
A few of the routes are also closer to bolted boulder problems than ‘routes’, but we giggled a fair deal, hung around a metre or so above the ground having fallen off four metre high routes and generally had an amusing time about as different from the day before as imaginable. We camped on a beach in one of the most heavenly spots imaginable that night


Hamarøyskaftet
Wednesday, after an ‘invigorating’ dip in the Arctic Atlantic, we climbed the remarkable peak of Hamarøyskaftet, with an amazing summit and views out across the sea to Lofoten. The guide is about right, summing it up as a great hike interspersed with some boulder problems that would probably be fatal if you fell off them. We used a rope and were very happy to do so! It’s not a particularly technical climb, but it is great fun and good mountain day. We were buzzed by a RNAF trainer on the descent, close enough to wave to the pilot and see him wave back. He then pulled a very tight turn, came all the way back round the mountain and passed us again, closer, and this time flying on his side and giving us an even heartier wave - the definition of cool. In the evening we took the more southerly ferry back east across Tysfjorden to Kjøpsvik, where you drive up north past some more remarkable peaks and faces and back to the Stetind camp area.
Going up the Hamarøyskaftet...


...and coming back down again, Lofoten in the background.


Thursday, we hiked up to the amazing peak of Eidetind. On the trip ten years ago Dave and I had climbed Eidetind by following our nose in strangely competent display of mountaineering nouse. We later found out we had climbed Klubbruta, described now by the guide as the most popular route in the region. It is brilliant, so I can see why. 

Me high in the huge corner system Engelsdiederet, Eidetind. Photo: D. Smith.
Me at the top of the corner, abseils next.
This time we went for Engelskdiederet 5+, or “the English Corner”. This is equipped for an abseil descent after five pitches - so this was our aim, having summited Eidetind before. We left bags at the base and climbed just with rock shoes. It’s great climbing following a stunningly strong line for those five pitches, but I did feel a bit like you’ve only climbed the corner to where the abs start from, not the whole wall. 

Perhaps one to revisit in the future and to follow to the top of the mountain next time. In the evening we drove back east, through Narvik and up the pass back towards the Swedish border, camping in a beautiful spot above the tree line on the tundra.
Tundra camping near Haugfjell
Planning for a shorter day on Friday we went to the nearby Haugfjell area, an open valley and hillside covered in innumerable cliffs and crags. We went to Kjerringvegen, which seems to be the most developed sector - nice single pitch routes, sport and trad, overlooking a beautiful lake. I did Skidor är löjligt (“Skiing is Silly”), 5+, it being both the crag classic and a sentiment that as a poor telemark skier I can sympathise with.

Well, skiing is silly. Photo: D. Smith
 We also did a number of the mid-grade sports line, including Dave cruising the steep, juggy line of Jepperuta, a great 6- (6a-ish?), steeper than anything else we had climbed all week. In the early afternoon we packed the gear, went and swam in beautiful if rather chilly lake, put some clean clothes on, went back to the car and began the epic, through-the-night drive home.


Lazy Birds, 5+
Leaving Haugfjell, looking south towards Sweden.
Thanks to Dave for a brilliant week once again and for being such a solid and reassuring climbing partner, and finally for letting me use some of this great photos.

Somewhere in Finland at 4 in the morning, the long road home.